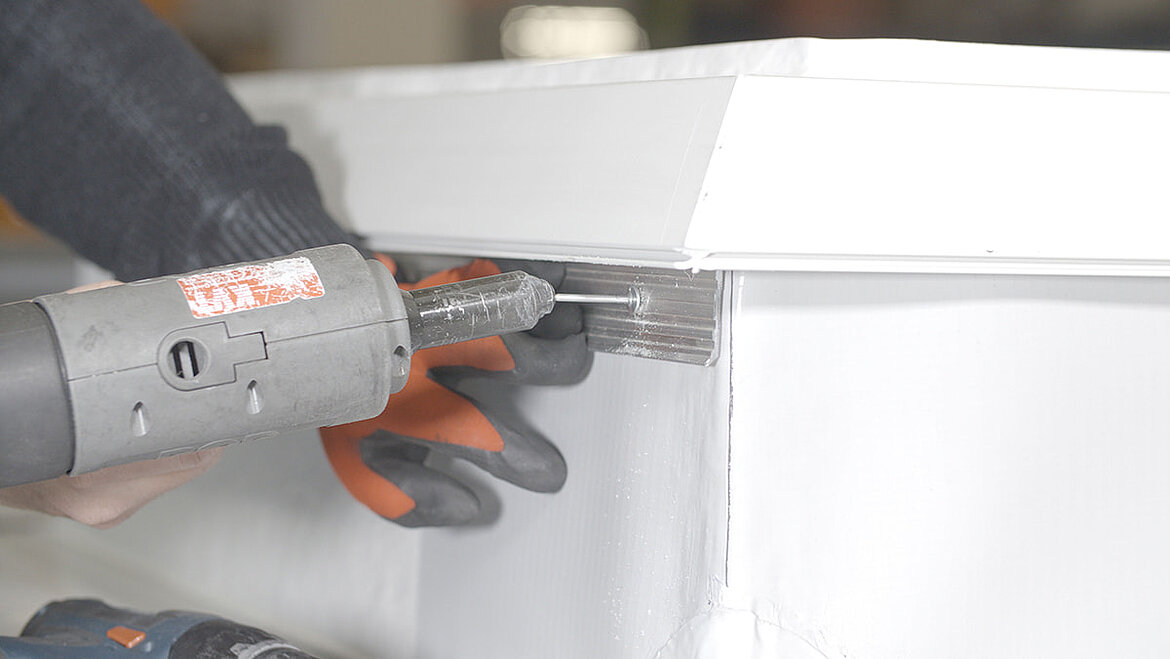
Connecting the upstand of the skylight to the waterproof sheet
One way to connect a glass skylight to the seal of the water channelling level is to connect a PVC-P waterproof sheet with a rigid PVC rail in the base flange. However, it is also common practice to run the PVC sheet up the upstand. Michael Schaaf, lecturer at the Bundesbildungszentrum des Deutschen Dachdeckerhandwerks in Mayen, demonstrated how this works during a practical demonstration at LAMILUX, manufacturer of skylights: The PVC connection to a rooflight.
In this insights article you can find out about it in two ways: First, a continuous text describes the process of sealing a rooflight in detail. Subsequently, illustrated step-by-step instructions show how you should proceed in order to efficiently and watertightly connect the skylight upstand to the waterproof sheet.
How to properly seal a rooflight with a PVC sheet
Weld test, shear test and further preparations for the PVC connection to the upstand
Good preparation includes a temperature and weld test to determine the correct processing temperature for the PVC sheet, adapted to the conditions on the construction site. Although this is stated by the manufacturers of the PVC sheets, the reality on the roof is often different: On a hot day in July, the materials behave differently than at the end of November. Therefore, it is also customary to document these weld tests and to show them to the building owners upon request. In the end, this also protects the fabricator should problems arise.
This is how you proceed with the temperature and weld test: Weld two sheets of PVC material together, taking care not to create any bubbles or holes. The connection should be homogeneous. An indication that your hot air unit is set too hot is heavy smoke development. The consequence: Your PVC sheets burn through. But a smokeless finish is also an indication, namely that your hot air dryer is set too cold and the materials do not bond properly. If you later weld the rigid PVC rail to the PVC sheet when sealing the upstand, you may have to adjust the temperature slightly again. This is because the surface of the rigid PVC is slightly different from the surface of the PVC sheet.
Next, clean the nozzle of your hot air unit, as it will inevitably become dirty during welding. Use a wire brush to loosen these contaminants and thus prevent them from being deposited when the test seam is closed. Now you must seal the two pieces of PVC sheeting into a test seam with an overlap of at least four centimetres in accordance with the specialist rule for seals. This is how you do it:
- Roughly staple the two PVC sheets on the outer sides on the right and left.
- Close the joining seam from one tacking point to the other. While doing so, slowly move the hot air dryer through the seam and follow it with your fingers to lightly press the sheets together.
- If necessary, brush with a roller. This is especially recommended for smaller nozzles where you have to go along the seam several times to close the four centimetre overlap. This is time-consuming, which is why it is advisable to use an appropriately wide hot air dryer nozzle – about 4 centimetres – when sealing longer sheets later.
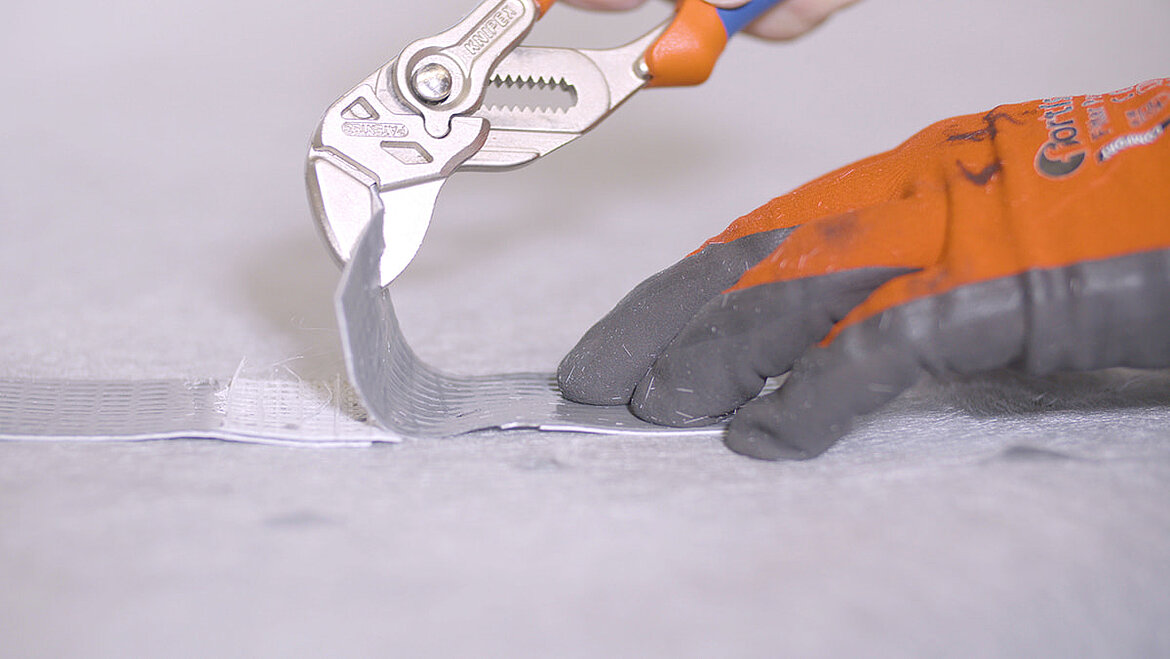
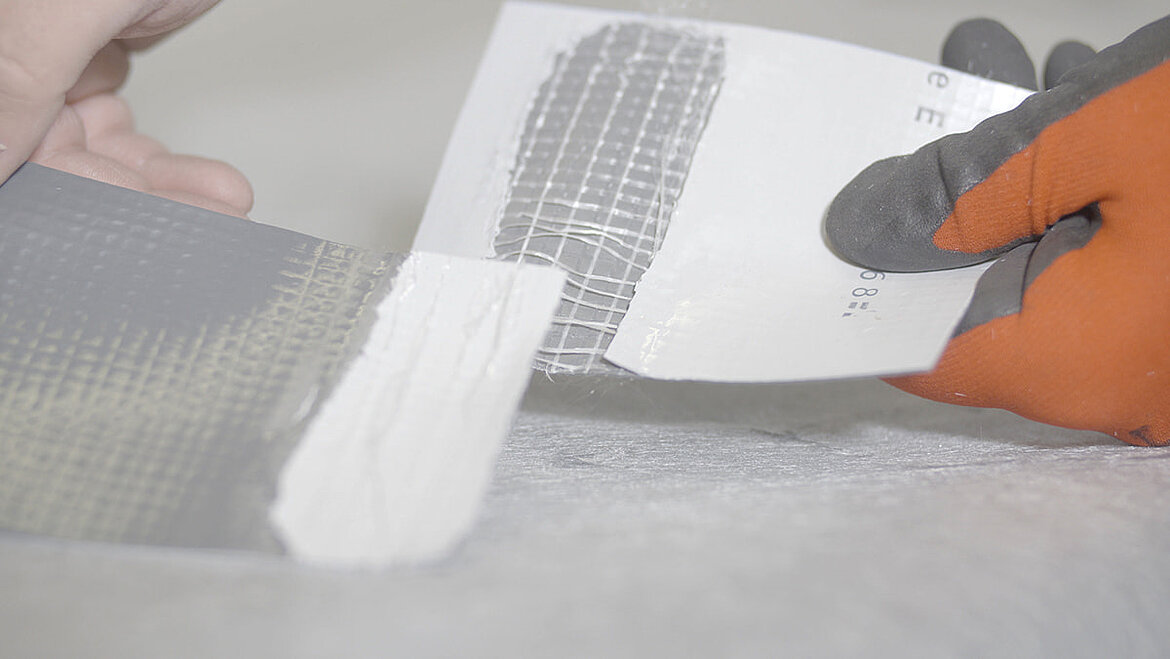
No weld test without testing whether it has worked. This is determined with the 'sword test': To do this, now cut your test piece apart across the seam and try to tear the seam apart along this cut edge. If the weld test has worked, the seam holds together firmly – even if the shear test is carried out lengthwise. Instead, with a proper weld test, the PVC sheet itself tears apart.
Sealing PVC sheeting with PVC connection rail from LAMILUX
Tools from rooflight manufacturers make it easier for you to connect the PVC sheet to the upstand. One such tool is the PVC connection rail, which is available for all LAMILUX upstand products and onto which the PVC sheet is welded directly. Plan in advance how you want to connect the PVC sheet to the PVC connection rail, again bearing in mind the flat roof guideline: Width of weld seams at least two centimetres, overlap of PVC sheet and PVC connection rail of at least four centimetres.
- Place the first PVC waterproof sheet on one side of the PVC connection rail.
- Staple the materials together at two points – just as you did for the weld test. Depending on the length of the sheet, you can of course staple several such fixation points. This is particularly important because PVC expands with heat and, if there are not enough tacking points, it firstly curls unattractively and secondly cannot be welded properly due to the excess material.
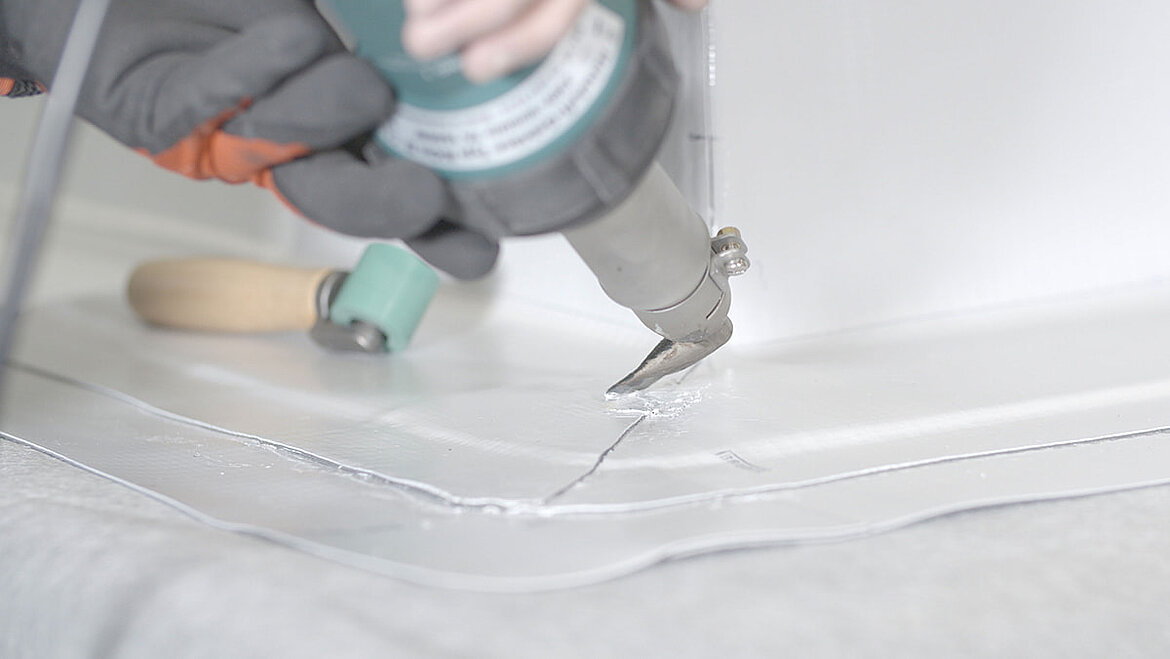
- Cut the protruding ends of the PVC sheet away from the upstand at a 45 degree angle. This is important because with this oblique cut you lengthen the capillary channel compared to a straight cut. The longer the capillary channel, the lower the risk of water entering through it. In addition, this oblique cut also looks better later on – that doesn't hurt either.
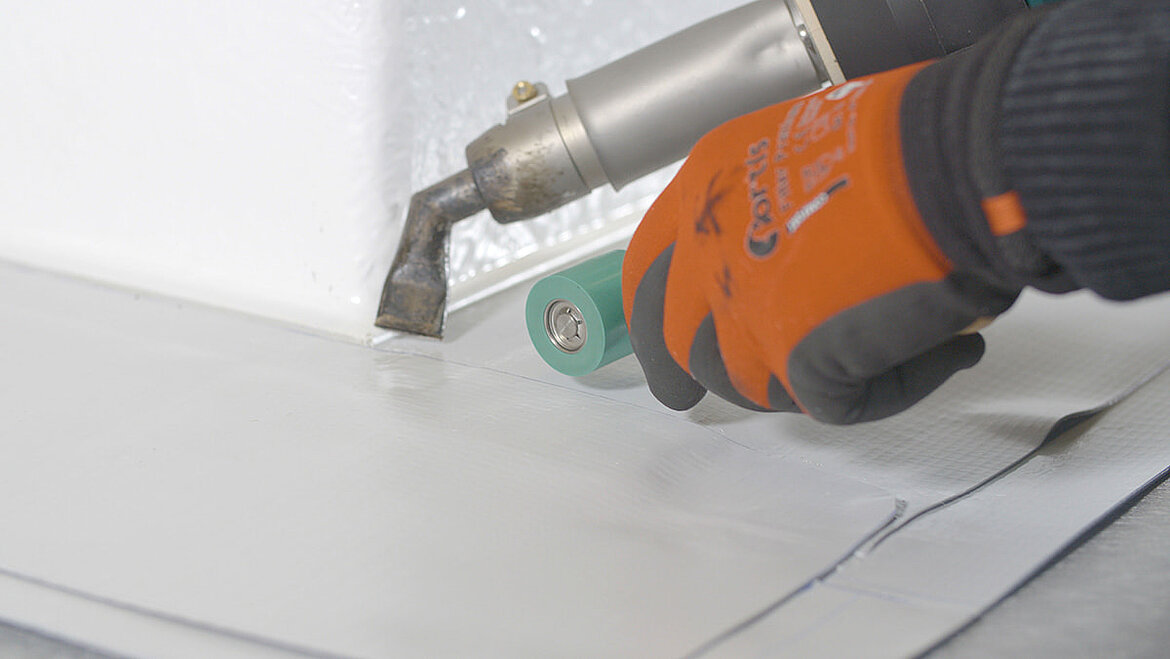
- Weld the complete PVC sheet along the tacking line to the PVC connection rail. To do this, run a small roller just in front of the hot air unit and use it to press the warm air jet firmly between the two layers.
- Your hot air dryer nozzle gets dirty during this process. Therefore, always have a wire brush at hand for cleaning in between.
- Heat the edge of the PVC sheet lengthwise and pull it until smooth with the nozzle of the hot air dryer. In this way you seal the capillary channel permanently, because you close it.
Sealing a rooflight without PVC connection rail
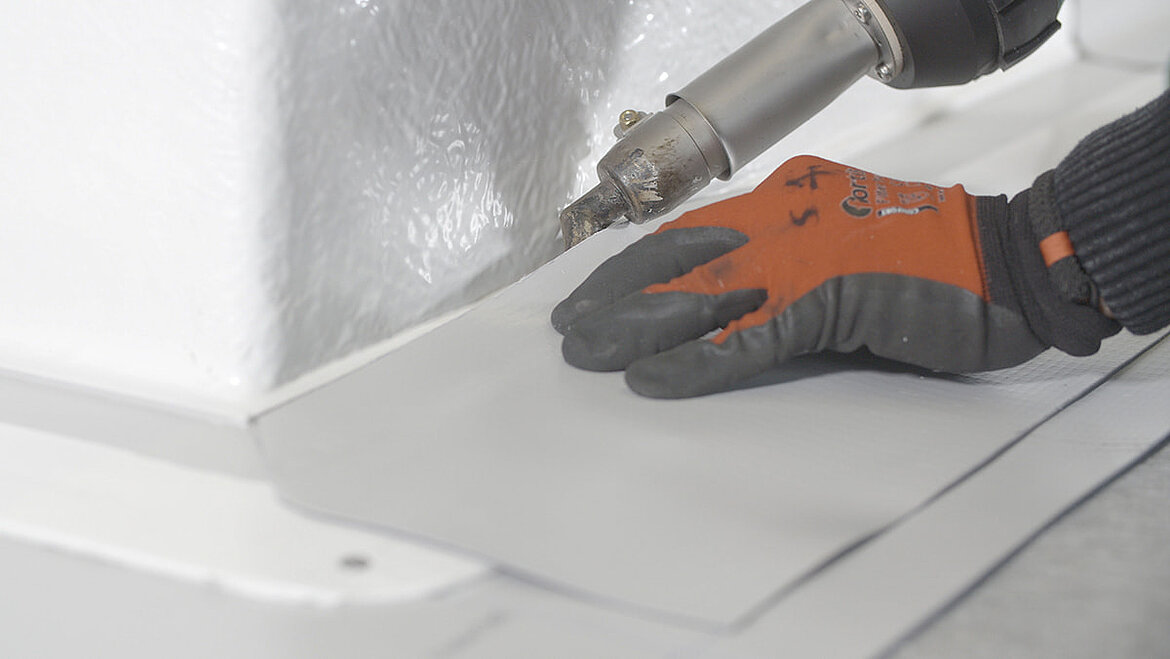
If no PVC connection rail is attached to the upstand or the base flange, the PVC sheet is welded directly to the upstand.
- To do this, guide the PVC sheet upwards by about 15 centimetres on the upstand.
- To ensure that the PVC waterproof sheet stays in place, it must be fastened, for example with LAMILUX clamping profiles.
- Then proceed as before: First staple the PVC waterproof sheet to the upstand in at least two places, but preferably in several.
- Then close the complete weld seam lengthwise as described above.
This means that the PVC sheet is now attached to the upstand in a watertight manner, although the lower end is still open to the roof surface. The manufacturer or your chosen fastening method specify how far the PVC sheet must extend away from the upstand into the roof surface, i.e. the water channelling level. Michael Schaaf demonstrated this in his practical demonstration with a projection of ten centimetres.
The overlapping of the subsequent four PVC sheets that have to be fitted around the upstand is also important. The flat roof guideline applies here again: four centimetres.
- Now cut the PVC sheet in a wedge shape by five centimetres – at the point where the water channelling level and the corner of the upstand meet.
- Feel free to shape the wedge a little. This makes it easier to lay the PVC sheet around the corner of the upstand. According to Michael Schaaf, this is a proven way of designing the corners, but there is no clear guideline for this step.
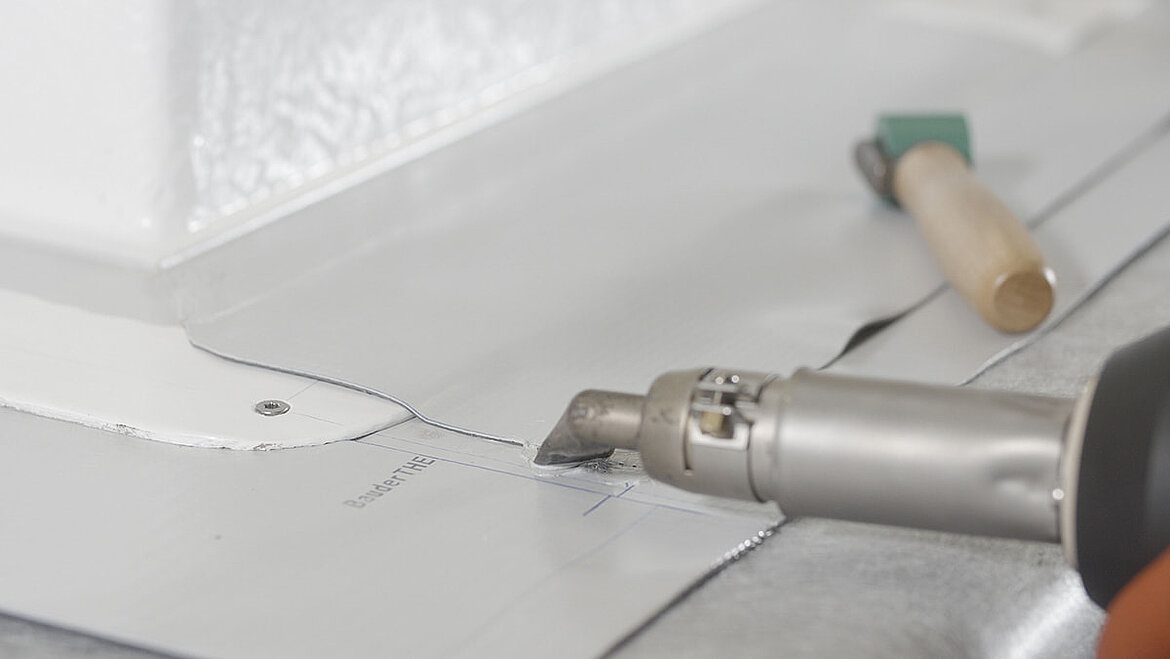
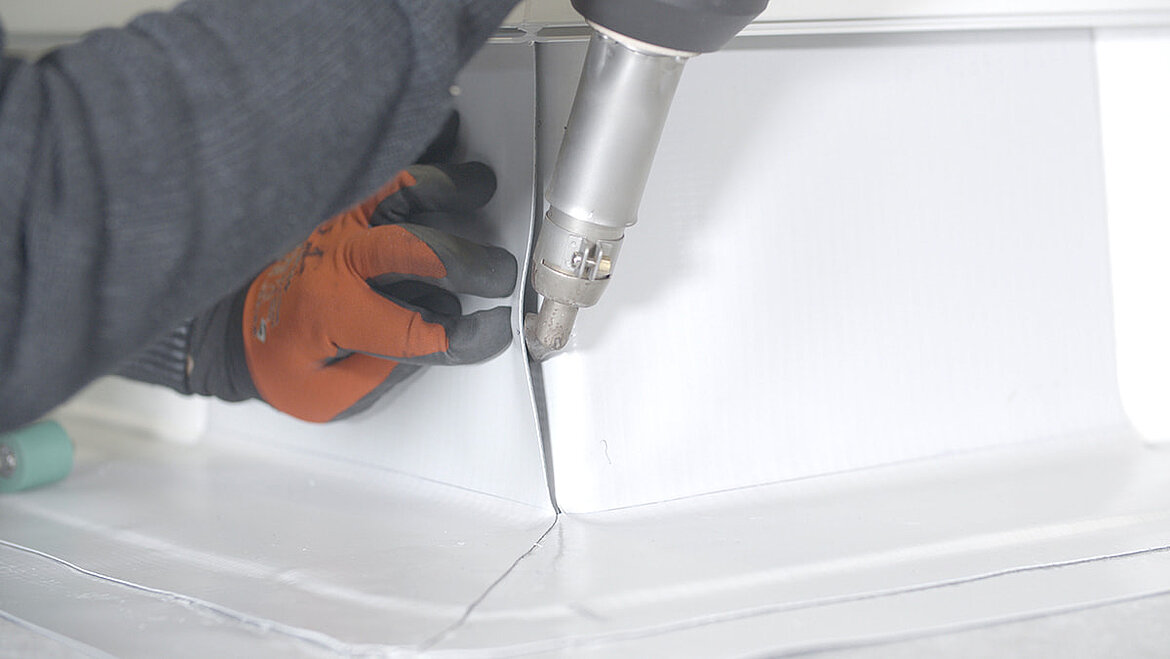
- Close the capillary channel as described above by moving along it with the hot air dryer nozzle and smoothing the seam. The result should be at least two centimetres wide in order to ensure tightness on the one hand and to be able to attach a rooflight corner to it later on on the other.
- Proceed in this way with all four sheets, thereby connecting to the water channelling level and to each other one after the other.
Next, you should again focus on the corners of the upstand at the water channelling level. Now seal them with special rooflight corners. The crux of the matter is that upstands often do not extend away from the roof surface at a 90-degree angle, but are slanted. This now requires some tact, practice and the right technique:
- First staple the rooflight corner to the two legs of the upstand, pressing the tacking points firmly. Suitable tools for this are a corner roller or a fillet seam pusher, but firm finger pressure also does the job.
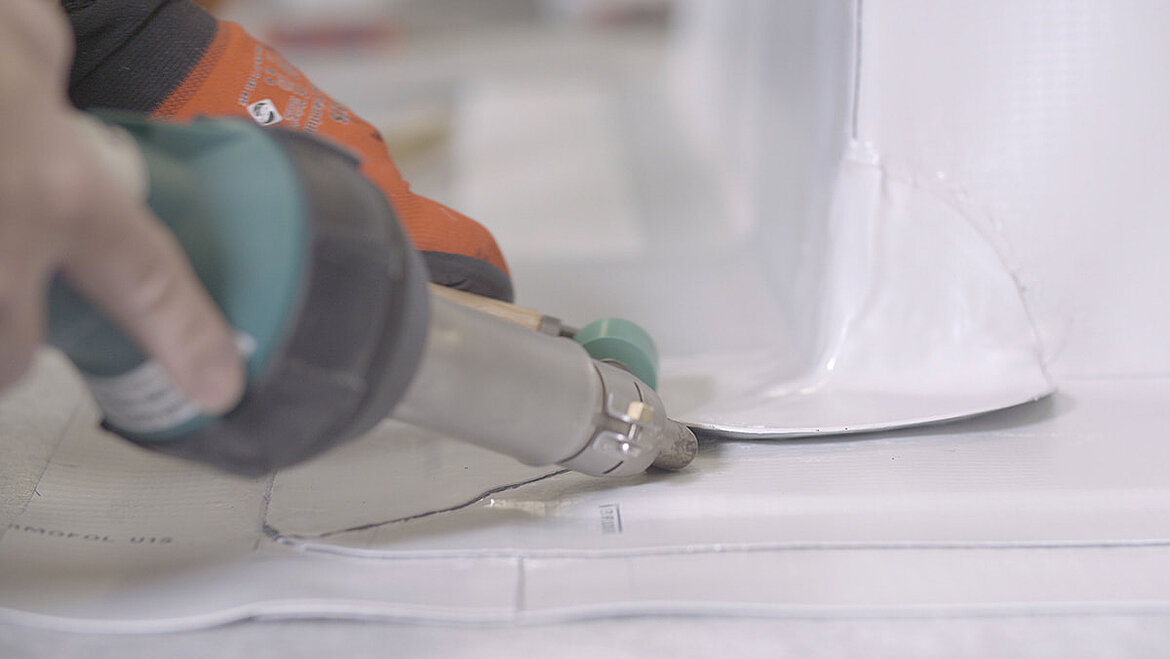
- Now you can weld the rooflight corner to the water channelling level. Now two pockets have been created towards the top. It is precisely these pockets that now help them to connect the rooflight corner to the PVC sheet on the upstand.
- Weld the pockets to the PVC waterproof sheet one after the other, working the material out from the bottom up. This will prevent the material from curling due to thermal expansion.
- Caution: If you hold the hot air dryer in the pockets for too long, it will get too warm inside. The consequence: Heat build-up, expansion and, in the worst case, holes.
Checking that you have done everything correctly when sealing the rooflight
Allow the welds to cool and then carry out the seam check to determine whether all materials are joined together in a watertight, gap-free and sustainable manner. To do this, take a test needle to hand. If the test needle can be pushed between the PVC sheets at any point, there is still need for action and you will have to use your hot air unit again. However, be careful with this form of seam control and do not carve holes in the panels yourself with a needle that is too sharp. More gentle but less common inspection methods for seam inspection are carried out using a vacuum bell or by blowing on the edge of the seam.
Steps during the weld test
Before all welding work, perform a weld test and use the shear test to determine whether the sample seam is welded correctly and your hot air unit temperature settings are correct.


