
How to Keep Your Flat Roof Permanently Watertight with Liquid Waterproofing
Flat roofs face particular waterproofing challenges: standing water, temperature fluctuations and UV radiation put constant stress on the roof membrane. A proven solution for keeping flat roofs watertight over the long term is liquid-applied waterproofing systems.
This technique creates a seamless, flexible and durable seal – ideal for connections, upstands or refurbishment of existing roofs. In this article, you will learn how to seal a flat roof with liquid waterproofing, which materials are required, what costs to expect and what to look out for during installation.
Why Use Liquid Waterproofing for Flat Roofs?
Anyone looking to waterproof a flat roof increasingly turns to liquid-applied systems. The main advantage: liquid waterproofing is applied seamlessly and adapts to any contour. Weak points such as joints, overlaps or complex connections are therefore a thing of the past.
In addition, liquid roof waterproofing impresses with its high flexibility and crack-bridging capability. Even when the substrate moves, the waterproofing remains watertight.
Advantages of Liquid Waterproofing:
- Seamless surface – no leaks caused by joints or seams
- Excellent adhesion to many substrates such as concrete, bitumen, metal or timber
- Weather- and UV-resistant
- Ideal for detailed connections at rooflights or upstands
- Durable solution for refurbishment and new builds
Of course, liquid waterproofing also has its limits: application must be precise, layer thickness must be correct and the substrate perfectly prepared. If these aspects are taken into account, the result is a long-lasting, low-maintenance flat roof waterproofing system.
What Types of Liquid Waterproofing Are Available?
Not all liquid waterproofing systems are the same. There are various types with different properties – similar to paints or adhesives. The most common systems, explained simply:
PMMA – the fast classic
PMMA stands for polymethyl methacrylate. It is a two-component waterproofing system that cures within minutes after mixing. This variant is particularly popular in roofing, as it can be applied even at low temperatures and becomes rainproof after around 30 minutes.
PUR – the flexible option
PUR stands for polyurethane. This liquid waterproofing remains particularly elastic and stretchable after curing. It is well suited to larger roof areas, as it easily accommodates substrate movement caused by thermal expansion.
EP – the robust industrial solution
EP stands for epoxy resin. This type of waterproofing is extremely hard and chemically resistant, but less elastic. It is therefore mainly used in industrial or workshop environments where high mechanical loads occur.
For most flat roofs in roofing practice, PMMA liquid waterproofing is the best choice, as it is fast, reliable, durable and easy to apply.
Step by Step: How to Seal a Flat Roof with Liquid Waterproofing
For liquid waterproofing to remain durable over time, careful execution in several work steps is essential. Below is the complete practical guide used by roofers and tradespeople.
Materials and tools required:
- Liquid waterproofing (either a two-component system with hardener or ready-to-use)
- Primer (depending on substrate and existing waterproofing)
- Reinforcement fleece (for crack bridging and stabilisation)
- Roller, brush or spatula
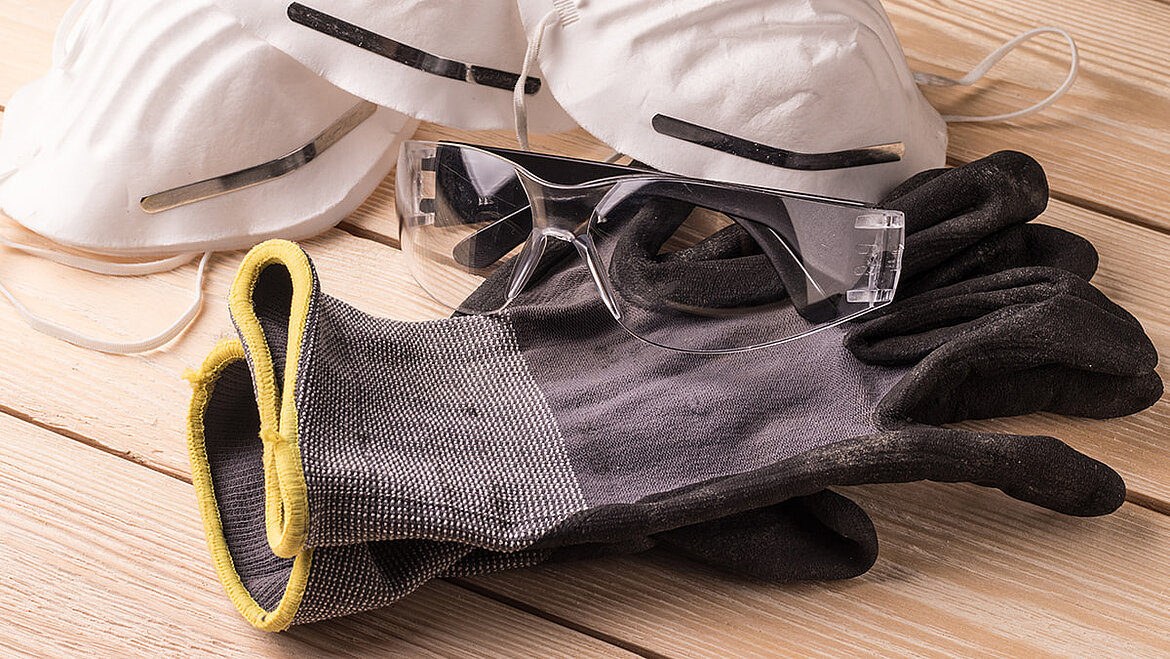
- Long sleeves, gloves, safety goggles and, if required, respiratory protection
- Depending on the product: bucket, mixing paddle or mixing machine
Preparing the substrate
Good waterproofing always starts with a clean surface.
- Clean the surface thoroughly: remove dust, grease, moss, old sealants or loose material
- The substrate must be dry and sound
- On porous surfaces (e.g. concrete), apply a primer to improve adhesion
- Existing bitumen membranes can also be overcoated, provided they are firmly bonded and clean
Optional: Mixing the liquid waterproofing
Liquid waterproofing often consists of two components – the base material and a hardener.
- Mix both components carefully immediately before application
- Once mixed, the chemical reaction starts and the material begins to cure
- The working time is usually 15–30 minutes, so work efficiently
- Only mix as much material as you can apply within this time
Even ready-mixed products should be stirred thoroughly before use to avoid sedimentation or lumps.
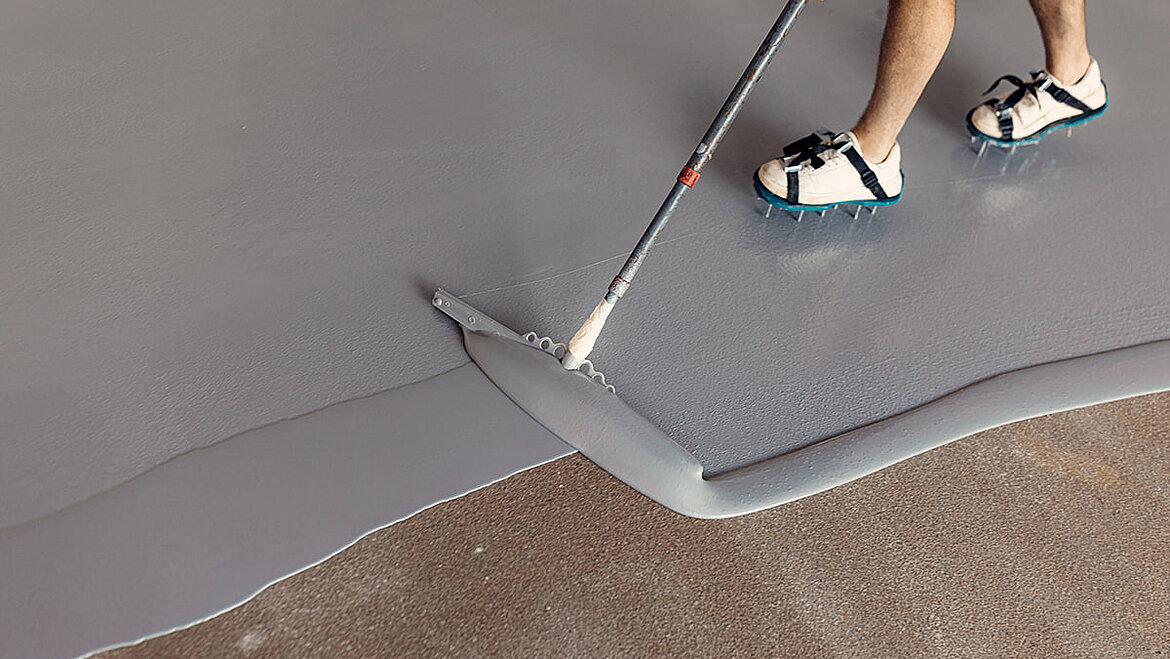
Applying the first layer
Apply the liquid waterproofing evenly to the roof surface using a roller or brush.
As a rule of thumb, apply around two thirds of the material as the first layer and one third as the second layer. This ensures that the reinforcement fleece can be fully saturated and bonded.
Embedding the Reinforcement Fleece
While the first layer is still wet, the reinforcement fleece is embedded.
It ensures that the waterproofing remains stable and bridges minor movements or cracks in the substrate. The fleece is pressed into the still-wet layer without air bubbles or folds so that it can fully absorb the liquid waterproofing. A good indication that the fleece is properly saturated is when it takes on the colour of the liquid waterproofing. If two fleece sheets overlap, an additional layer of liquid waterproofing should be applied between them to ensure full bonding and a continuous, watertight seal.
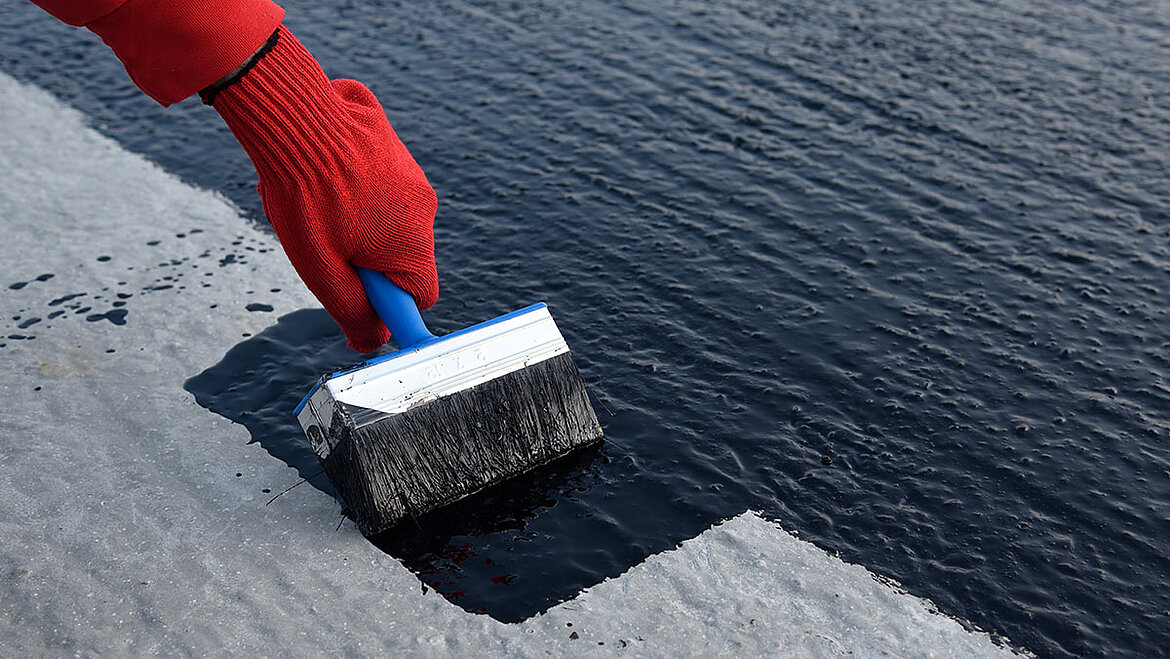
Applying the second layer
Immediately after embedding the fleece, apply the second layer of liquid waterproofing. This top coat must completely cover the fleece to create a homogeneous, watertight surface without joints or transitions. Once cured, the waterproofing remains permanently elastic and walkable.
Sealing Connections and Upstands
Critical transitions occur especially at roof penetrations and upstands. In these areas, the liquid waterproofing is applied from the flat roof surface upwards to around 15 cm above the lower edge of the upstand. A narrower reinforcement fleece strip is inserted, with additional reinforcement applied at the corners. The area is then sealed in two layers. This creates a fully bonded, watertight connection – without joints and without separate sealing tapes.
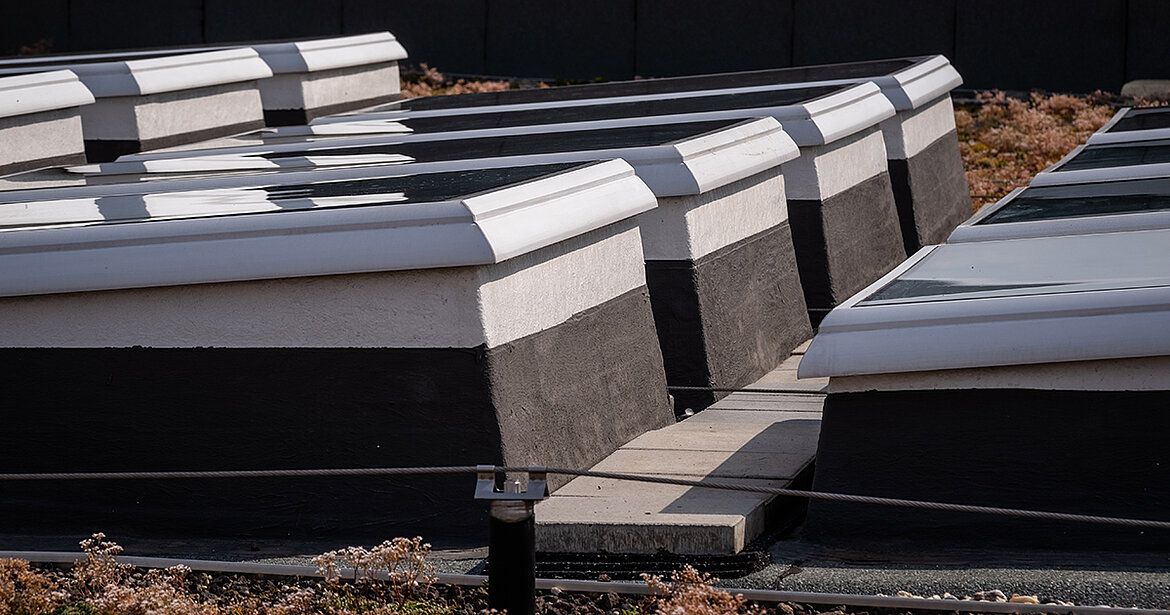
Choosing the Right Upstand
Connections at upstands for rooflights and flat roof windows are always critical points in roof waterproofing. Choosing the right products can save time and money on site. LAMILUX upstands are made of glass fibre reinforced plastic (GRP) and, thanks to their optimised surface, do not require abrasion or pre-treatment. Liquid waterproofing can be applied directly and raised up the upstand without the need for pressure rails.
Choosing the right upstand
The right upstand is key to airtightness, energy efficiency and ease of installation. Discover the available options, what to look out for during selection and why this component is far more than just a detail.
What Does Liquid Waterproofing for Flat Roofs Cost?
Costs depend on the material, surface area and connection details. On average, liquid waterproofing for flat roofs costs between €25 and €40 per square metre. This typically includes liquid waterproofing, reinforcement fleece, primer and accessories. For detailed connections or refurbishment projects, prices may vary depending on the effort involved.
Liquid Waterproofing – the Flexible Solution for Every Flat Roof
Liquid-applied waterproofing is a modern, reliable and durable method for keeping flat roofs watertight over the long term. It is ideal for complex details, connections and refurbishment projects, and impresses with its flexibility and durability. Whether you are refurbishing an existing flat roof or sealing a new one: with the right preparation and a high-quality system, you achieve a result that lasts for many years.